Don’t bake cheesecake sticks choose your toppings!
Don’t bake cheesecake sticks choose your toppings!
No-Bake Cheesecake Bars has the right sweetness, with creamy graham cracker crust. Add them as you like—fruit, chocolate sauce or caramel and sea salt!
These are similar to our No Bake Cheesecake, but are made in different pans and cut into strips. They are one of our favorite no-baked foods in summer, and we like to put some fruity things on them, such as strawberry jam.
Cheesecake, less trouble
It’s no secret that our family likes cheesecake. But making traditional cheese cakes takes a lot of time, especially in the oven! This is where these no-bake cheesecake bars come in.
No baking is involved. Without those complicated spring disks. Everything is placed in the refrigerator and freezer, in the cake pan. It’s very simple!
So in those hot summers, when you desperately need a slice of cheesecake but don’t want to warm up the whole house, take out your hand mixer and do it!
How to make them
Crispy. The crust is similar to the traditional cheese cake crust, the difference is that it is not baked in the oven, but placed in the refrigerator when the filling is made. It’s simple, right?
filling. Stir the ingredients until smooth and creamy, then add the whipped cream. Carefully spread it in the frozen shell, and then spread the top on top (by the way, this is completely optional).
chill. Put the pan in the refrigerator for at least 4 hours, then slice it for serving.
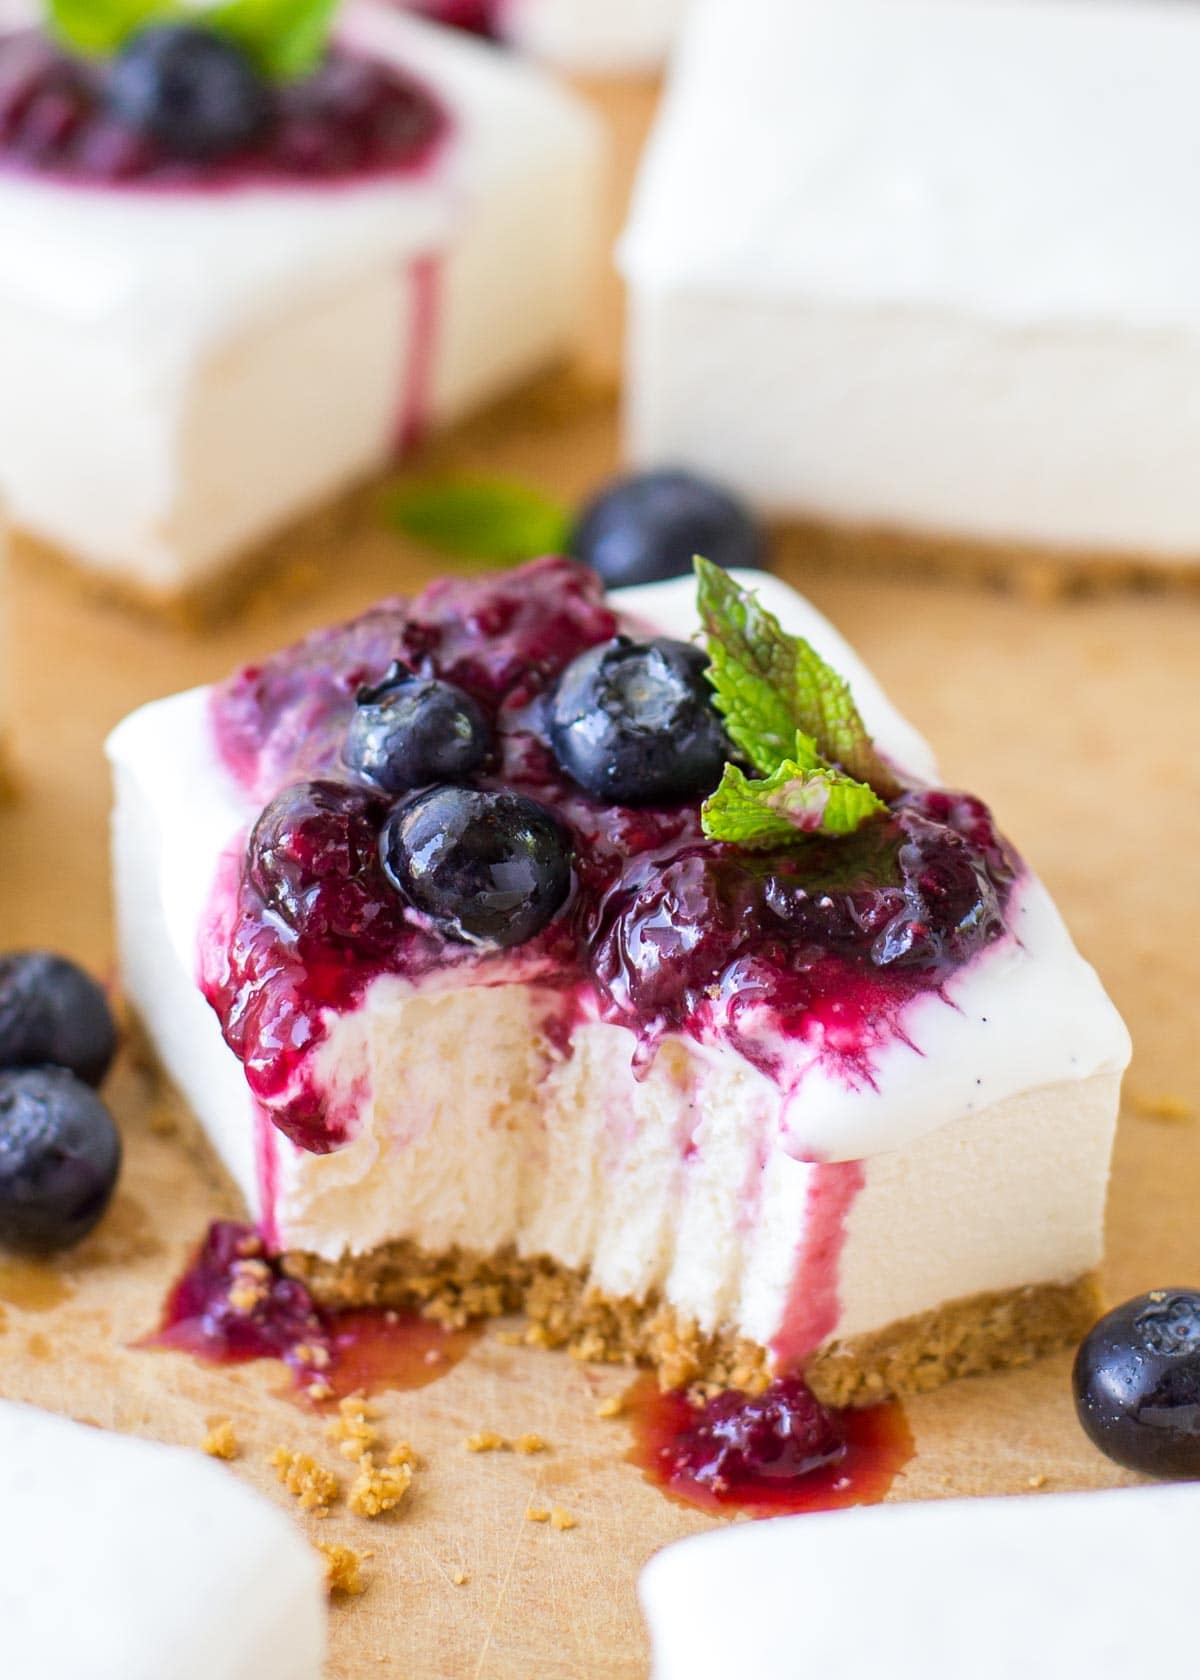
Delicious toppings: The picture shows a delicious blueberry topping, but you can add any topping you want, or even eat it directly. Here are some ideas!
Recipe troubleshooting
I must admit that sometimes it is difficult to determine why the recipe did not turn out as expected.Here are a few common
- Room temperature: Don’t forget to let the cream cheese and sour cream sit. What’s more obvious is that softened cream cheese blends better, but so does room temperature sour cream.
- Hard peak: Make sure to beat enough heavy cream, otherwise the final result may be very runny. Hard peaks can be determined by lifting the blender from the mixture, and the whipped cream should maintain the peak shape.
- Cool off time: Don’t skimp on the cooling time, so please plan accordingly to ensure that there is enough time to solidify before serving.
- gelatin: Be sure to follow the recipe instructions you want to make sure that the cake is placed correctly.
Storage tips
Shop The cheesecake, covered with a lid, can be stored in the refrigerator for up to 5 days.
I don’t recommend freezing cheesecake Until it is set In the refrigerator for a few hours. After the cake is set, you can wrap it in plastic wrap and then wrap it in foil. It will be stored in the refrigerator for up to 3 months.
For more no-baked snacks, please check:
Course dessert
American cuisine
Preparation time 25 minutes
Cool down for 4 hours
Total time 4 hours 25 minutes
16 servings
Calories 250 kcal
Author Little Luna
- 1 cup graham cracker crumbs (from about 8 sleeves)
- 5 tablespoons unsalted butter melted
- 2 tablespoons cold water
- 1 1/2 teaspoons of ordinary gelatin powder (I bought a box of small packets)
- 16 ounces plain cream cheese, room temperature 30 minutes
- 3/4 cup powdered sugar
- 1/3 cup sour cream at room temperature for 30 minutes
- 2 teaspoons vanilla extract
- A pinch of salt
- 3/4 cup heavy whipping cream
Sour cream topping (optional)
- 3/4 cup sour cream
- 3 tablespoons powdered sugar
- 1/2 teaspoon vanilla bean paste or extract
-
To make the crust, combine the graham cracker crumbs, sugar, and salt in a medium mixing bowl. Pour the melted butter on top and stir until a soft wet mixture is formed. Press firmly into an 8×8 or 9×9 inch pan. When preparing the filling, put it in the refrigerator.
-
In a small microwave-safe bowl, stir together the water and gelatin. Set aside.
-
In the bowl of a stand mixer (or a large mixing bowl), whisk the cream cheese until smooth and creamy. Add sugar, salt, vanilla and sour cream and stir until combined.
-
Put the gelatin mixture in the microwave and heat it on HIGH for 25 seconds. Remove and stir for 1 minute. Chill for 2 minutes, then stir at low speed. Slowly add the gelatin to the cream cheese and stir until combined.
-
Using a hand mixer (or if you have another bowl as a mixer, use that one), in a medium bowl, whip the heavy cream until stiff peaks form. Using a rubber spatula, fold the whipped cream into the mixture. The whipped cream will loosen the filling a bit, making it easier to spread.
-
Carefully spread the filling in the frozen crust. Spread into a smooth, even layer.
-
Prepare the topping by mixing all the ingredients in a mixing bowl and stirring until smooth. Using a spatula, spread on the top of the cheesecake.
-
Keep in the refrigerator for at least 4 hours, then slice and serve.
_______________________
These look very sacred. I am a big fan of no-bake recipes in summer. I like that these can be decorated in many different ways! ! Thanks for sharing Natalie with us! Go to Life Made Simple to see more of her delicious recipes! !