Easy Cherry Pie Recipe | Little Luna
Easy Cherry Pie Recipe | Little Luna
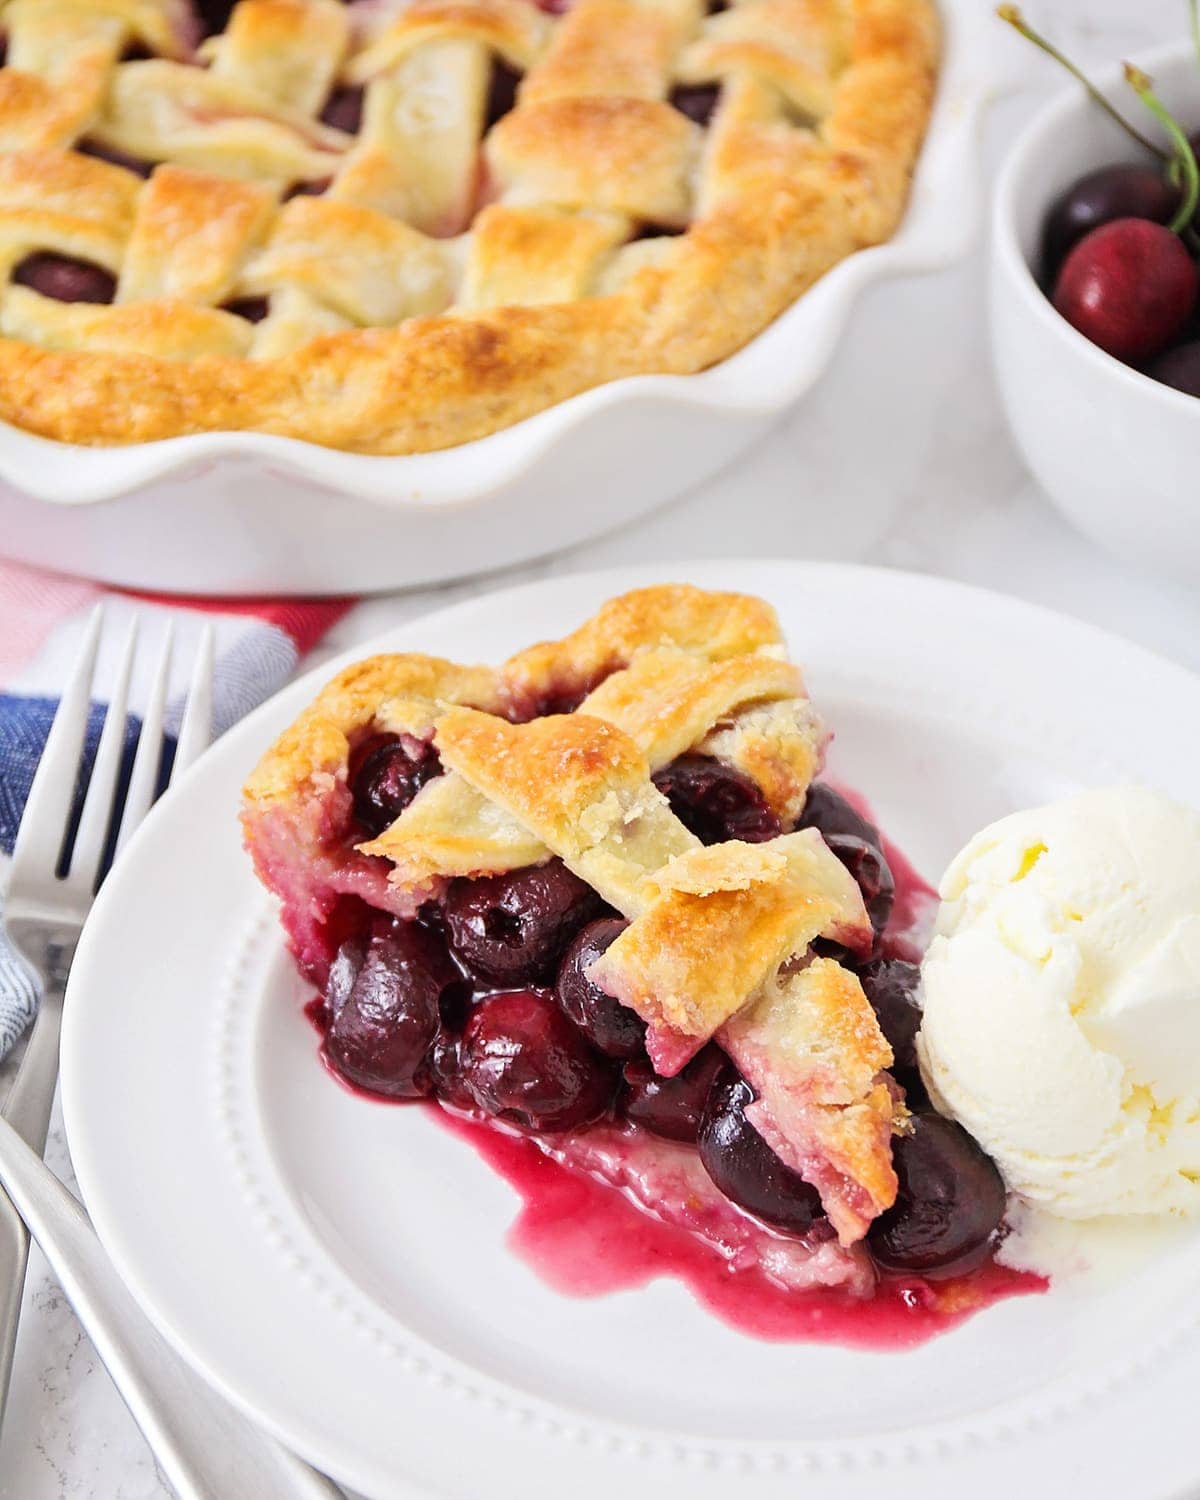
This cherry pie recipe is simple and elegant, yet tastes amazing. It’s perfect for any special occasion or holiday!
Fruit pies are a great treat any time of year, but I especially love when fruit is in season. Whether it’s an apple pie, triple berry pie or this cherry pie, they really are the perfect dessert!
Best Homemade Cherry Pie!
Hello again! It’s Alicia from The Baker Upstairs and I have a very delicious pie recipe to share with you today. I’ve always loved pie, but in the past I’ve been intimidated by actually baking it.
A few years ago, I decided it was time to really master the art of this pie baking, and to my surprise, making a good pie is actually a lot easier than I thought.
The elements of a pie are actually quite simple, which is why it’s important to start with good ingredients. Using the freshest, ripest, sweetest fruit you can find will make a huge difference to the finished pie.
How to Make Cherry Pie
Cherry.The most time-consuming part of making cherry pie is pitting all the cherries, but once you get into the grooves, it goes pretty smoothly. Tip: I have this oxo cherry pitter to make things a little easier, but you can also use chopsticks to push the pit out. Get ready to stain your fingers and hands purple with all the cherry juice!
tasting cherries: If you start with very sweet cherries and then add sugar, you may end up with a dessert that is too sweet. vice versa. If your cherries are bitter, your pie may not be sweet enough. To fix this: For tart cherries, add 1-2 tablespoons more sugar. For sweet cherries, add 1 teaspoon lemon juice.
Crispy. As far as the crust goes, I love using this excellent homemade pie crust recipe for a delicious flaky crust. But if you’re in a hurry, frozen pie crust is a great substitute. Press bottom crust into pie pan, then add cherry filling. To make the filling, you’ll toss the cherries with cornstarch, sugar, vanilla, and a pinch of salt.
bake. Before baking, brush the pie with a simple egg wash, then sprinkle the pie with sugar. I usually bake pies on a baking sheet to prevent the filling from bubbling. The pie is done when the crust is golden brown and the filling is thick and bubbling.
cool. Let cool completely before serving so the filling will thicken as the pie cools.
Serve. This cherry pie is absolutely delicious with whipped cream or ice cream.
lattice shell
I like to make fruit pies with a checkered crust so that the beautiful fruit filling comes out of the top crust. If you haven’t made a trellis before, it’s actually a lot easier than you might think. Here is the process:
- You cut the top crust into strips and place half of them vertically on the pie, about 1/4 inch apart.
- Next, you’ll fold all the other strips back on themselves and place a horizontal strip of crust over the pie. Repeat the process, alternately folding the strips you folded, until the entire pie is covered in the plaid pattern.
- After covering the entire crust, use a sharp knife to cut off the excess from the edges. I find that the paring knife is easiest to move around the pie plate.
- Pinch the bottom and top crusts together around the pie to seal the filling. If you want to make the pie more decorative, you can roll up the edges with a fork or use your fingers to create a scalloped design around the edges.
More tips and tricks:
- Cool the pie for 30 minutes or more before placing it in the preheated oven.
- Be careful not to overwork your pie crust. Overworking will activate the gluten even more, resulting in a hard, dense crust.
- Use frozen butter and ice cold water. Some people even cool their flour!
- Bake pies on a baking sheet. This will catch any juices that may be bubbling and save you from a smoky messy oven.
- Use a pie shield, or make your own with foil. This helps when the crust is ready but the pie is still cooking.
storage
Storage room: (room temperature) Cover and store for 1-2 days.
refrigerator: Cover lightly with foil and refrigerate for 4-5 days.
refrigerator: After the pie has cooled, wrap it tightly with plastic wrap, then wrap it with aluminum foil. Label and store in the refrigerator for 4-6 months.
frozen unbaked pies: Wrap in plastic and then in foil. Freeze up to 3 months. Do not thaw when you are ready to bake. Place the pie directly into the oven preheated to 425°F and bake for 15 minutes. Reduce heat and bake according to recipe directions.
I love the juicy sweet cherries and the buttery crispy skin. The finished pie is very pretty and impressive, but it really doesn’t take much effort to make.
If you’re as scared of baking pies as I am, fear not! This easy cherry pie recipe will make you feel like a pro!
For more cherry recipes, try:
Course dessert
American food
Serving Size 12
by Lil’ Luna
- 2 refrigerated pie crusts
- 2 pounds fresh sweet cherries pitted
- 1/4 cup cornstarch
- 3/4 cup sugar
- 1 teaspoon vanilla
- a pinch of salt
- 1 egg yolk
- 1 tablespoon water
-
Preheat oven to 400.
-
In a medium bowl, combine cherries, cornstarch, sugar, vanilla, and salt until cherries are coated in cornstarch mixture.
-
Gently press the bottom pie crust into the pie pan, making sure it is pressed against the edges and bottom without gaps or air bubbles. Pour the cherry mixture into the bottom crust.
-
Use a pizza knife or sharp knife to roll out the top crust and cut into one-inch-wide strips. Run half of the strips through the pie, about 1/4 inch apart. Fold all the other strips back on themselves and place one of the remaining strips in the middle of the pie, perpendicular to the previous strip. Fold the strips down onto the new strips, repeating, alternating which strips are folded back on themselves, until the top of the pie is covered with a plaid pattern.
-
Cut off excess crust with a sharp knife. Pinch the bottom and top shells together to seal.
-
In a small bowl, whisk together egg yolks and water. Brush the top of the pie with egg wash and sprinkle with extra sugar if desired.
-
Bake for 55-60 minutes, or until the filling is bubbling and the pie crust is golden brown. Cool to near room temperature before slicing and serving.