How to make caramel candies Too easy!
How to make caramel candies Too easy!
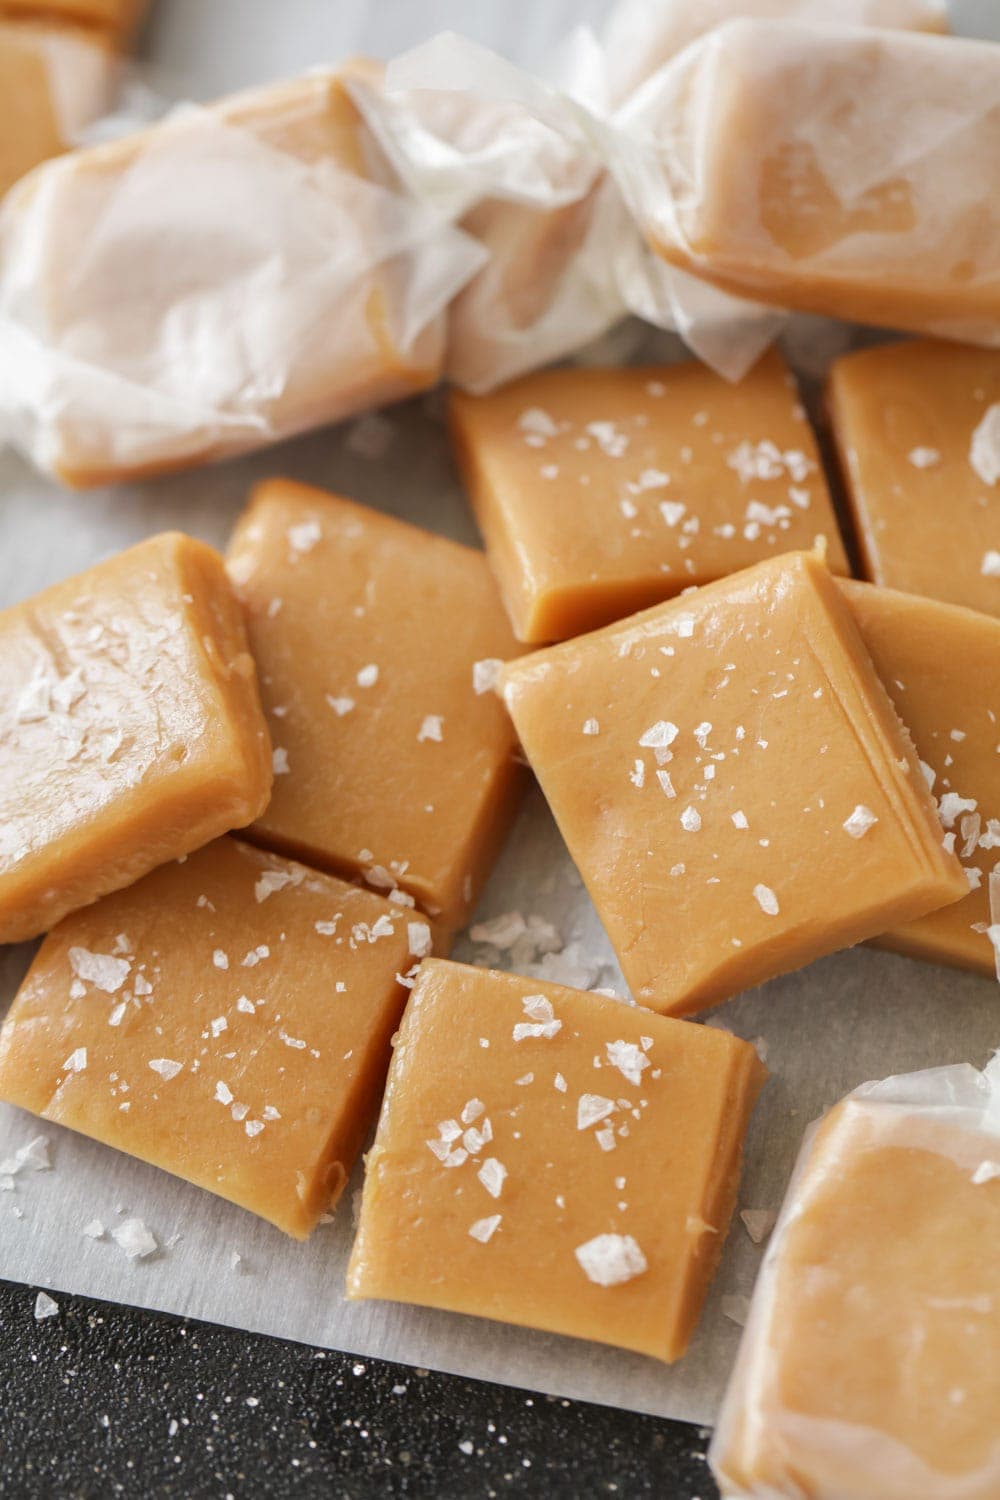
These buttery, soft, chewy homemade caramel is the perfect treat, easily wrapped in wax paper and given as a gift to friends and family.
We love to add these homemade caramel candies to our neighbor’s plate along with Christmas crackle and snowball cookies! Everyone loves them.
Favorite holiday treat
Have you eaten homemade caramel before? When we get delicious plates from friends and neighbors, they are one of the festive treats I have been looking forward to. I never knew how to make them, but decided we need to change it. I searched the internet for the best recipe, this one from family and friends looks perfect, and it is!
The only downside to making caramel (or any kind of candy) is that it usually takes time. This recipe is no exception. But I assure you that in order to get the perfect soft and chewy caramel candy, every ounce of your patience is worth it! !
My favorite thing to do with these fudge caramel is to cut them into pieces, wrap them in wax paper, and give them away during the holidays. Now that we have a great recipe, we will add these candies to our Christmas candy tray this year.
How to make caramel candies
Making caramel Andy depends entirely on time, and some steps are very fast.I like to have All ingredients are pre-weighed and prepared In this way, as long as one step is completed, I can prepare for the next step.
Another thing to keep in mind when making homemade caramel is the weather. Choose a cool and dry day. If there is too much moisture in the air, it will cause too much moisture in the candy and may not solidify properly.
Prepare. Grease a 12×15 inch pan.
hot. Combine sugar, brown sugar, corn syrup, evaporated milk, whipped cream and butter in a medium pot. Use a candy thermometer to monitor the temperature and stir frequently. When the temperature reaches 250 degrees Fahrenheit, remove the pot from the heat.
(notes: Use a large pot. If the pot is not big enough, it tends to bubble very high and boil easily. When I made these for the first time, I had to change the pot in the middle because mine was not big enough. Then it messed up the cooking time, and it turned out to be harder than I wanted. So take a larger pot than you think you need. )
put. Add the vanilla and slowly pour it into the greased pot. Let cool completely, once cool, cut into cubes and wrap in wax paper.
Tips for cleaning up: Don’t try to soak the cooking pot for several hours, just add water to the pot and boil it. The hot water will soften and loosen what is stuck to the caramel. Use cleaning tools to help wipe off the caramel. You can even immerse the tip of the thermometer in boiling water to soften the caramel sticking to the caramel.
Variety
Dipping caramel in white or dark chocolate is absolutely delicious, you can also easily add:
- Sprinkle Shanghai salt on top
- Toasted coconut to the top
- Chopped nuts (mixed with vanilla at the same time)
No candy thermometer?
To be honest, I really recommend investing in one. It makes candy making easier. With a thermometer, you want to reach any temperature between 250 and 320 degrees Fahrenheit. This temperature range will lead to the so-called hard ball phase.
- 250°F is the lower end of the stage, the color is lighter, the texture is soft, and the texture is like toffee
- 320°F is a higher temperature, the caramel is darker, and the candy is harder, but it can still be shaped.
Ice water test: If you don’t have a thermometer, you can still try homemade caramel. All you need is a bowl of ice water. When you think the caramel is ready, use a spoon to pour a ball of caramel into a bowl of ice water.
- Hard ball stage: The caramel should be solid enough to roll it into a ball. If it is too soft and does not retain its shape, then you need to cook it for a longer time.
- Hard cracking stage: If it solidifies into hard candy and breaks when you try to make it into a ball, it means you have cooked it too long and take it out immediately. However, not everything is lost, you will only eat hard caramel instead of soft caramel.
Cutting, packaging and storing caramel
In addition to spraying your baking sheet, you can also line it with wax paper. This will make it easy to take out the whole caramel so you can cut them. Keep them too cold (refrigerate to speed it up). After cooling, remove the blocks from the pan and cut them.
Wrap each caramel in wax paper. Be sure to cut the wax paper large enough so that you can twist the ends into a ball, like a small roll.
Store: The wrapped caramel can be stored at room temperature for about 2 weeks.
share: This recipe mixes a fairly large batch. Definitely enough to share with one or two friends. Some interesting gift wrapping ideas include:
- Fill a small mason jar and tie a festive ribbon on top
- Buy and fill up holiday tins
- Fill a brown lunch bag, fold the top and fasten it with raffia
- Use holiday card paper to cut out a gift bag
You can’t go wrong with homemade caramel, but next time I wonder if we should try to dip them in chocolate. They are great, but I think they might be better coated with delicious white and milk chocolate!
For more candy recipes, please check:
Course dessert
American cuisine
Preparation time 10 minutes
Cooking time 15 minutes
Cooling time 1 hour
Total time 1 hour 25 minutes
12 servings
Calories 580 kcal
Author Little Luna
- 2 cups white sugar
- 1 cup packed brown sugar
- 1 cup corn syrup
- 1 cup evaporated milk
- 1 pint heavy cream
- 1 cup butter
- 1 1/4 teaspoons vanilla
-
Grease a 12×15 inch pan.
-
Combine sugar, brown sugar, corn syrup, evaporated milk, whipped cream and butter in a medium pot. Use a candy thermometer to monitor the temperature and stir frequently.
-
When the temperature reaches 250 degrees Fahrenheit, remove the pot from the heat.
-
Add the vanilla and slowly pour it into the greased pot.
-
Let cool completely, once cool, cut into cubes and wrap in wax paper. Please enjoy!